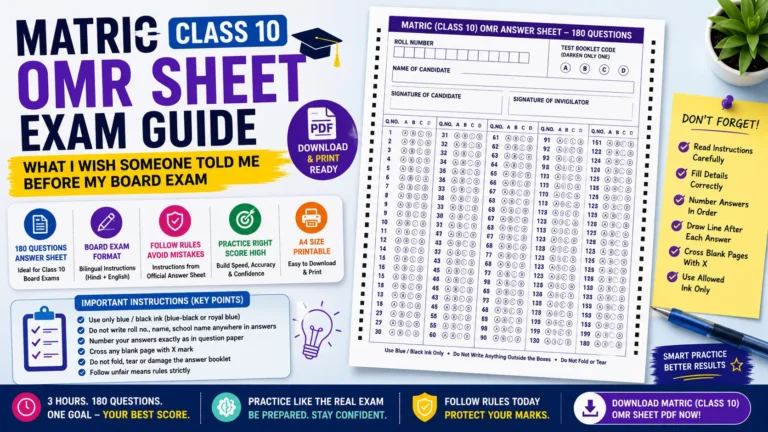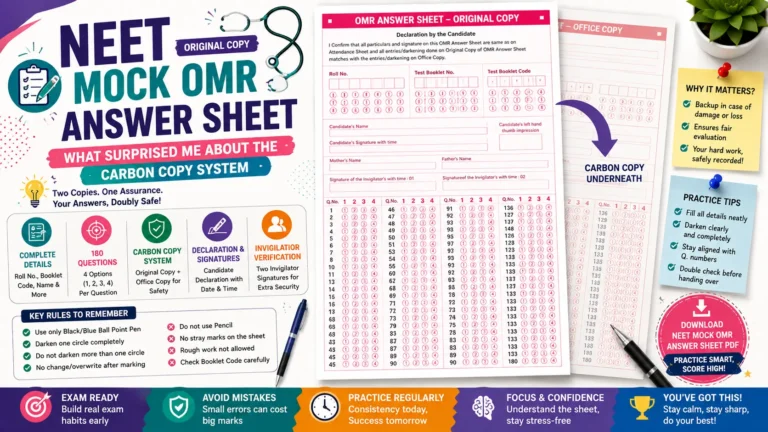
My pen ran dry exactly at question 147 during a full-length CEE practice round, and I did not have a backup black pen anywhere in my bag. That single mistake meant I had to pause a timed mock test, run to a nearby shop, and lose almost ten precious minutes I could never get back.
If you are preparing for a Common Entrance Exam, a mistake this small can genuinely throw off your entire practice rhythm.
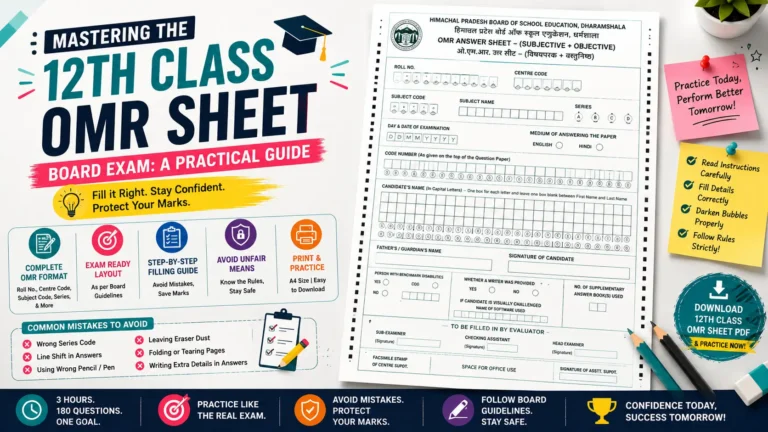
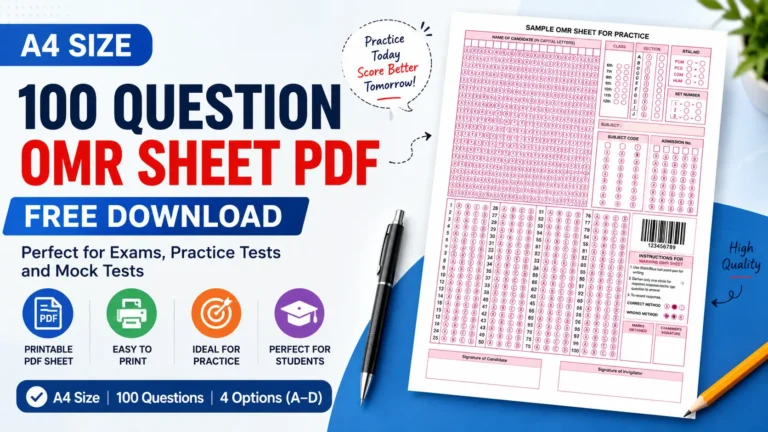
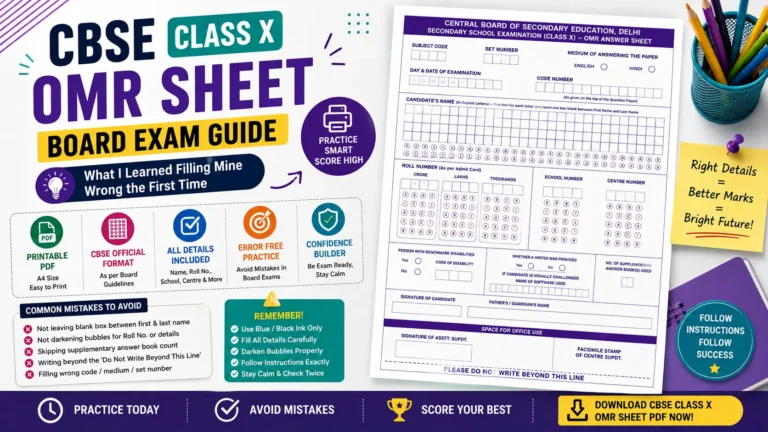
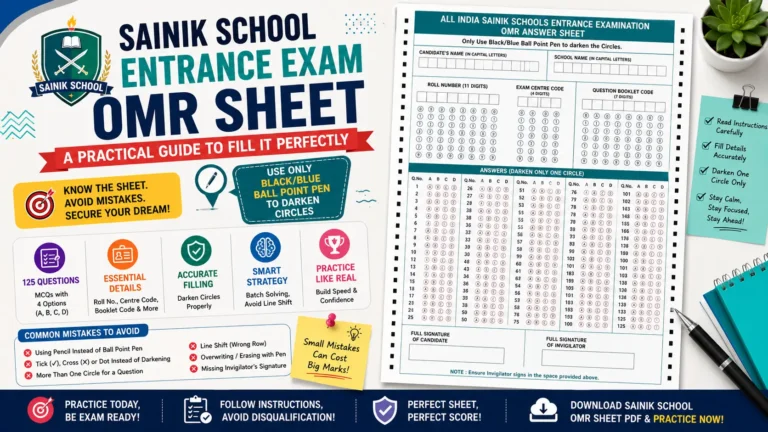
If you are searching for a CEE practice OMR sheet, you are probably preparing for a state-level or university-level entrance test that follows this format.
I have personally gone through a full 200-question practice sheet built exactly for this kind of preparation, and I want to walk you through every section so you do not repeat my pen mistake.
What a Proper CEE Practice Sheet Actually Includes
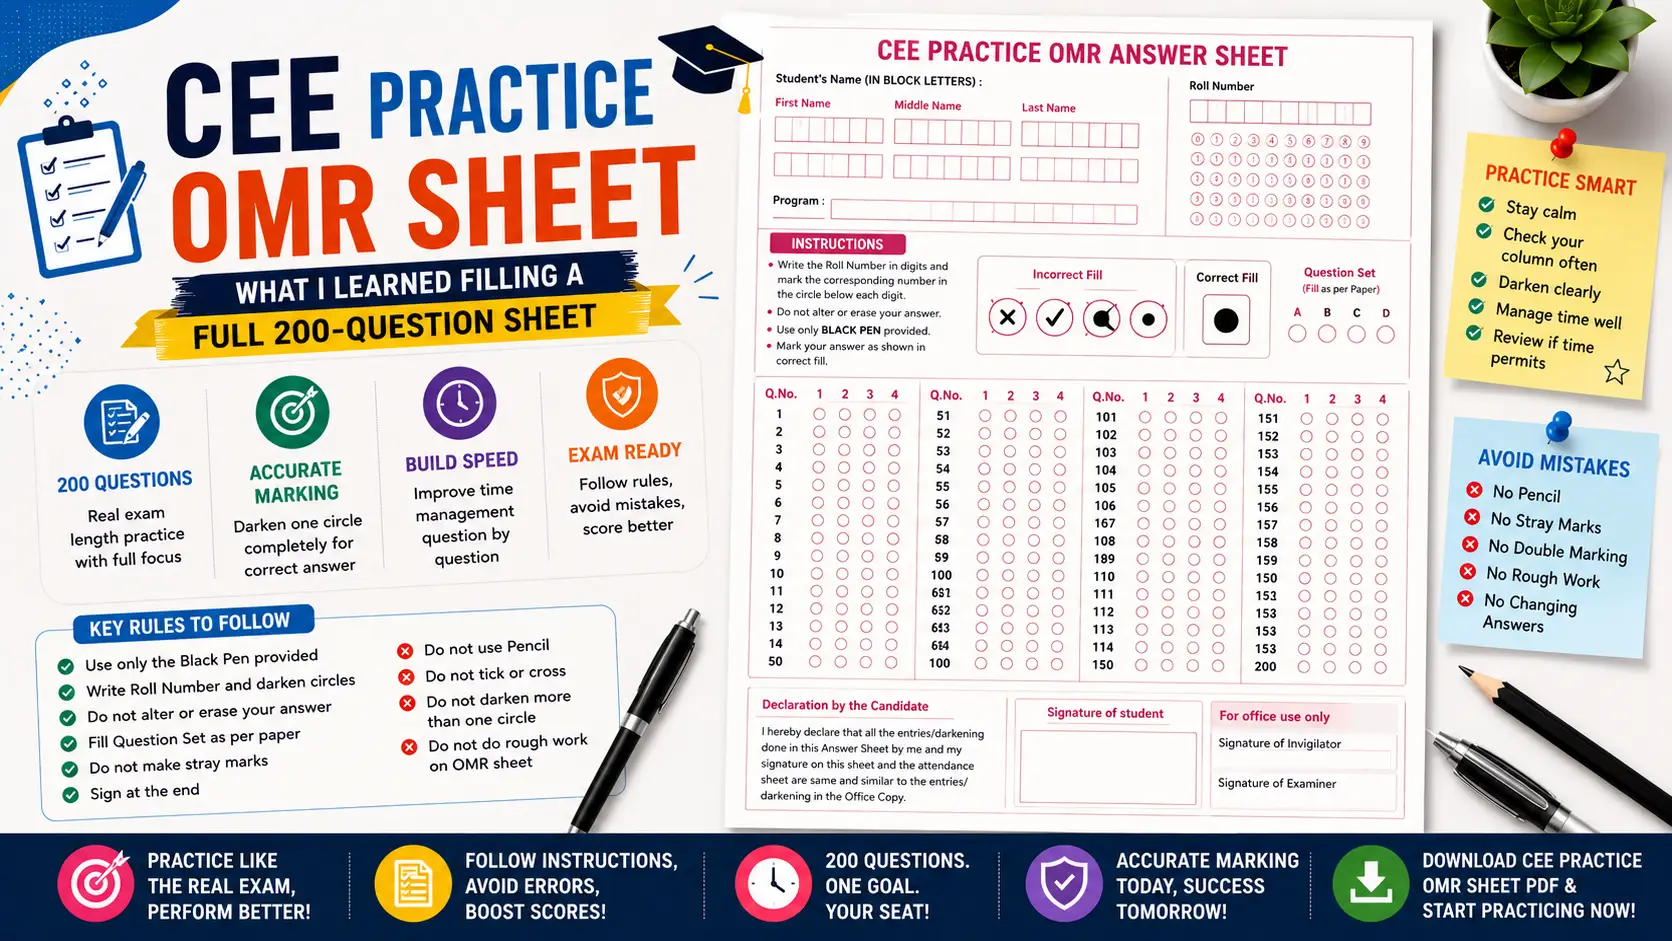
A well-designed CEE practice OMR sheet is not just a page full of bubbles. The one I practiced with starts with a Student’s Name section in block letters, split into First Name, Middle Name, and Last Name, each with its own row of letter boxes.
Right next to it sits a Roll Number grid, along with a Program field where you write out the specific course or exam program you are attempting.
What genuinely surprised me was the dedicated instruction box printed right on the sheet itself. It clearly explains that you should write your Roll Number in digits inside the boxes and also mark the corresponding number in the circle below each digit.
This two-step system, writing and then marking, is something a lot of first-time users skip without realizing both steps matter for accurate scanning.
The instructions also state clearly that you should not alter or erase your answer once marked, and that you must use only the black pen provided to you for marking.
I remember reading this line during my first attempt and immediately checking my pencil case, since I had automatically packed a pencil out of habit from school exams.
Understanding the Correct and Incorrect Fill Examples
One of the most genuinely useful parts of this sheet is the visual example showing incorrect fill versus correct fill styles, printed right above the answer grid.
The incorrect examples show things like a cross mark inside the circle, a checkmark instead of a filled circle, or only half the circle darkened. The correct fill example shows a single circle completely and solidly filled in black.
I found this visual guide more helpful than any written instruction, honestly. Seeing the wrong ways laid out clearly next to the one correct way removed all my guesswork within seconds. If your sheet includes this kind of example, take ten seconds to actually look at it before you start marking any answers.
Right beside this example section, there is also a Question Set field with options A, B, C, and D that you need to fill according to the set number printed on your actual question paper.
I almost skipped this section during my first mock attempt, assuming it was some kind of optional extra field. My mistake there meant my answers technically corresponded to the wrong question set arrangement when I checked them against the key later.
Step-by-Step: How I Fill a Full 200-Question CEE Sheet
After my messy first attempt, including the pen running dry disaster, I built a fixed routine that I now follow every single time I practice with this sheet.
- I fill my Student’s Name in block letters across the First, Middle, and Last Name boxes, writing one letter per box clearly.
- I write my Roll Number in the digit boxes, then carefully darken the matching circle below each individual digit.
- I fill in my Program field, writing out the exact course name I am practicing for that particular mock session.
- I check my Question Set letter on the actual question paper and mark the same letter in the Question Set box on the OMR sheet.
- I keep two working black pens ready before starting, learning this lesson the hard way after my earlier pen mishap.
- I solve each question on a rough sheet first, then mark my final answer by fully darkening the correct circle on the OMR sheet.
- Since this sheet spans 200 questions across four separate columns, I check my column and question number every ten questions or so.
- Once I finish, I sign in the Signature of student box, then compare my marked answers against the actual answer key afterward.
Following this order stopped me from jumping around the sheet randomly, which used to be exactly where my careless mistakes happened most often.
A Mistake That Taught Me to Slow Down
During one full mock attempt, I marked my answer for question 52 inside the row meant for question 53, since both rows sit close together in the second column of fifty. I did not catch this shift until nearly fifteen questions later, and by then every single answer after that point was off by one row.
Fixing it mid-test meant carefully erasing nothing, since the instructions clearly prohibit altering marked answers, and instead starting a completely fresh sheet from scratch.
That single mistake taught me to glance at the printed question number beside every row before darkening any circle, no matter how confident I felt about my pace. It sounds like a small habit, but on a 200-question sheet split across four columns, losing your row alignment even once can genuinely wreck your entire practice attempt.
Real Example: Why the Four-Column Layout Actually Helps
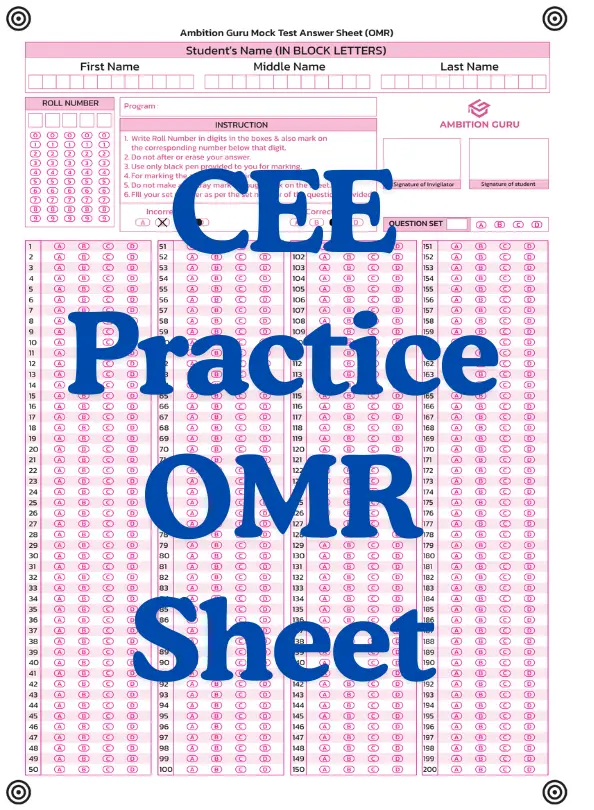
This particular sheet organizes its 200 questions into four columns of fifty questions each, running from question 1 through 200 in a clean, structured layout.
I initially found this layout a little overwhelming at first glance, since a full page densely packed with bubbles can look intimidating. But once I understood that each column represents a clean fifty-question block, tracking my progress actually became much easier than I expected.
A study partner of mine preparing for a state CEE exam mentioned that this exact column structure helped her pace herself better during timed practice.
She would mentally check her progress at the end of each fifty-question column, roughly estimating whether she was on pace for a three-hour paper. That small mental checkpoint system, built directly around the sheet’s own layout, genuinely helped her manage her exam-day timing.
Common Mistakes to Avoid
Based on my own practice attempts and details taken directly from the actual sheet instructions, these mistakes come up most often with a full 200-question CEE format.
- Using a pencil instead of the black pen specifically required by the sheet’s own instructions.
- Skipping the Question Set field, which needs to match the exact set letter printed on your question paper.
- Losing track of your row within a densely packed column, especially past the hundred-question mark.
- Making a stray mark or attempting rough work directly on the OMR sheet instead of a separate paper.
- Trying to alter or erase a marked answer, which goes directly against what the sheet’s instructions state.
- Not keeping a backup pen ready, especially during a long three-hour timed practice session.
Catching even a few of these early during your practice rounds genuinely reduces the chances of losing marks over avoidable, silly errors.
Final Thoughts
A CEE practice OMR sheet with a full 200-question layout demands more discipline than shorter, simpler sheets, and understanding its exact structure makes a real difference.
I only learned this properly after a dry pen disaster and a row-alignment mistake taught me to slow down and follow the sheet’s own instructions closely. Once you understand each section, from the Student’s Name grid to the Question Set field, filling it becomes a lot less intimidating.
Practice with a proper CEE-style OMR sheet regularly, keep a spare black pen ready, and check your row alignment every ten questions without fail.
By the time your actual entrance exam day arrives, filling a full 200-question sheet will feel completely manageable, leaving your full focus on the questions that truly decide your result.