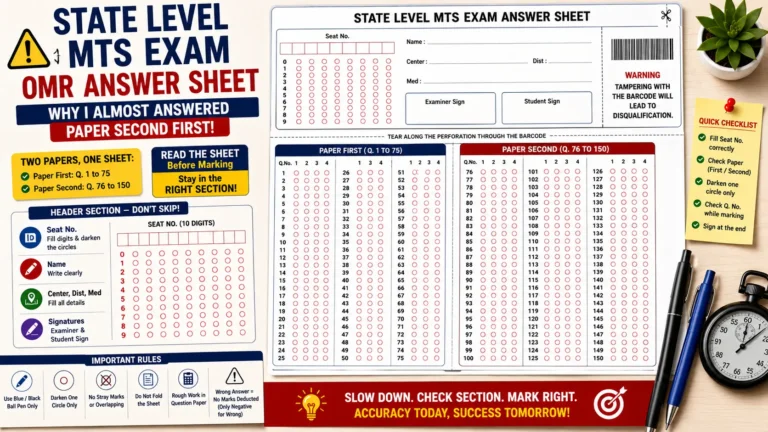
I was tearing my mock answer sheet along its perforation, exactly like I had seen someone do in a video, when I suddenly noticed a warning printed right along that same tear line. It said that tampering with the barcode would lead to disqualification. My hands froze for a second, genuinely unsure whether the tear I was already making counted as tampering or not.
If you are preparing for NDA, the National Defence Academy exam, and trying to understand how the actual OMR answer sheet works, I have gone through this exact sheet closely during my own preparation. I want to walk you through every section, including the barcode detail that genuinely worried me until I understood it properly.
Why the Barcode Section Exists in the First Place
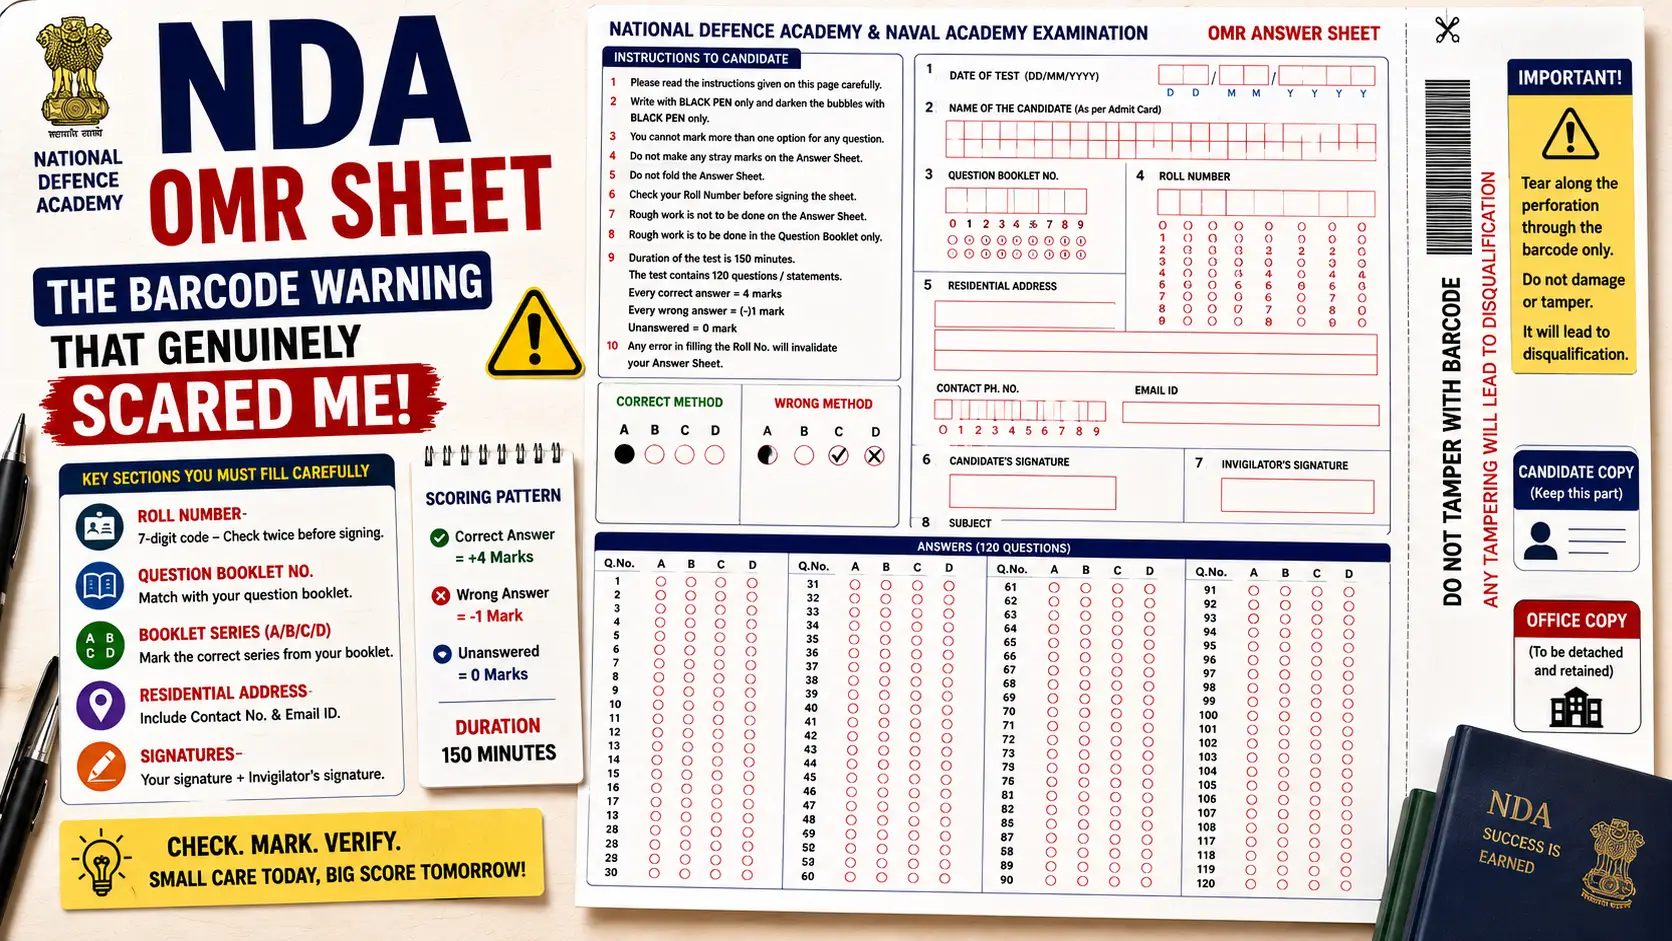
This NDA OMR sheet is built with two connected sections joined by a perforated line, running right through a printed barcode. The instructions clearly state you should tear along the perforation through the barcode, which sounds contradictory at first, since the same sheet also warns that tampering with the barcode leads to disqualification. Once I understood the actual purpose, the confusion made sense.
The tear itself is meant to be a controlled, designed action, splitting the sheet into a candidate copy and an office copy along a pre-marked line that runs directly through the barcode. Tampering, on the other hand, refers to damaging, altering, or interfering with the barcode outside of this intended, clean separation. I only felt confident about this difference after practicing the tear on a few mock sheets first, rather than attempting it for the very first time during an actual exam.
What the Header Section Actually Requires
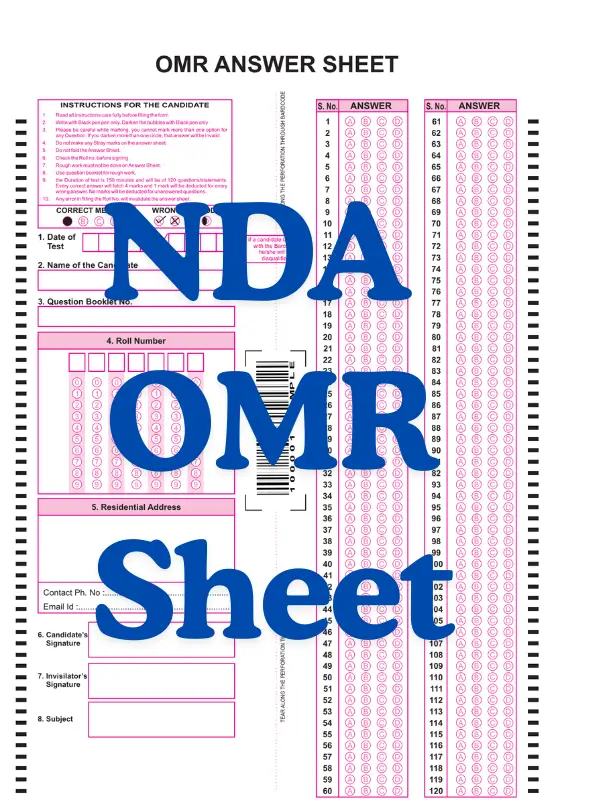
Before reaching the answer grid, this NDA sheet has a detailed set of instructions for the candidate, listing eight numbered fields you need to fill in. These include the Date of Test, Name of the Candidate, Question Booklet No, Roll Number, Residential Address, Candidate’s Signature, Invigilator’s Signature, and Subject. The Residential Address field also asks for a Contact Ph. No and Email Id, which genuinely surprised me, since most OMR sheets I had used before never asked for contact details at all.
Right below this instruction block sits a Roll Number grid using seven separate digit columns, each with its own set of 0 through 9 circles underneath. I remember being extra careful with this specific section after reading instruction number six, which clearly states that you should check your Roll Number before signing the sheet. This single line tells you exactly how seriously NDA treats this particular field.
The Ten Instructions That Genuinely Shape Your Score
Printed clearly on the sheet, ten numbered instructions cover everything from basic pen usage to the actual scoring pattern of the exam itself. The second instruction states you must write with a black pen only and darken the bubbles with black pen only, which ruled out any pencil use immediately during my own practice sessions. The third instruction is stricter than several other exam sheets I have used, stating plainly that you cannot mark more than one option for any question, and doing so makes that answer invalid.
Instruction four prohibits any stray marks on the answer sheet, while instruction five states you should not fold the answer sheet under any circumstances. Instructions seven and eight work together, stating that rough work must not be done on the answer sheet, and instead you should use the question booklet itself for any rough calculations or notes.
The Scoring Pattern Hidden Inside Instruction Nine
Instruction nine is genuinely the most important line on the entire sheet from a scoring perspective. It states that the duration of the test is 150 minutes, covering 120 questions or statements in total. Every correct answer earns you 4 marks, while 1 mark gets deducted for every wrong answer, and no marks are deducted at all for questions you leave unanswered.
This specific scoring pattern changed how I approached my own mock attempts significantly. Since a wrong answer only costs 1 mark while a correct one earns 4, the actual risk-reward ratio for an educated guess is genuinely different compared to exams with harsher negative marking. I started reviewing my own past mock scores specifically through this lens, checking whether my guessing pattern actually made mathematical sense given this exact 4-versus-1 scoring structure.
Understanding the Correct and Wrong Marking Examples
Near the bottom corner of the sheet, there is a small but genuinely useful visual guide showing a Correct Method next to a Wrong Method for marking answers. The Correct Method shows one option, out of A, B, C, and D, fully and solidly darkened. The Wrong Method example shows a lighter, incomplete mark instead. This tiny visual comparison helped me understand exactly how solid and complete my own pencil pressure needed to be, well, pen pressure in this case, since instruction two rules out pencils entirely.
Step-by-Step: How I Practice With This Exact NDA Sheet Now
After my barcode confusion and a few early marking mistakes, I built a fixed routine for filling this sheet, and I follow the exact same sequence every single practice attempt now.
- I pick up only a black pen before starting, since this sheet specifically requires black pen marking throughout, no exceptions allowed.
- I fill the Date of Test, Name, Question Booklet No, and Subject fields first, writing clearly in the spaces provided.
- I fill my Roll Number across all seven digit boxes, then carefully darken the matching circle below each individual digit.
- I double check my Roll Number specifically, remembering instruction six’s direct warning to verify it before signing anything.
- I fill my Residential Address, Contact Ph. No, and Email Id, treating even these practice details with the same seriousness as a real form.
- I solve each question using the question booklet for rough work, never writing directly on the OMR sheet itself.
- I mark exactly one complete circle per question, checking the Correct Method example whenever I feel unsure about my own pressure.
- I keep the sheet completely flat throughout practice, avoiding any folding, and I only tear along the perforation once I am genuinely finished.
This exact order stopped me from rushing through the header section, which is honestly where most of my early confusion and mistakes actually happened.
A Mistake I Made With the Roll Number Grid
During one practice attempt, I wrote my Roll Number digits clearly across the boxes but accidentally darkened the wrong column of circles, shifting my entire coded number by one column to the left. I only caught this because I made a habit of double checking my Roll Number specifically before signing, exactly as instruction six suggests. Since instruction ten states clearly that any error in filling the Roll No will invalidate the answer sheet entirely, this single mistake could have genuinely wrecked an otherwise well-attempted paper.
Common Mistakes to Avoid
Based on my own experience and details taken directly from the actual sheet’s printed instructions, these mistakes come up most often with this NDA format.
- Using a pencil or a non-black pen instead of the specifically required black pen mentioned in instruction two.
- Marking more than one circle for a single question, which the sheet explicitly treats as an invalid answer.
- Doing rough work directly on the OMR sheet instead of using the question booklet as instructed.
- Folding the answer sheet, which directly violates instruction five printed clearly on the form.
- Tearing the perforated barcode section carelessly or before actually finishing the exam, risking accidental tampering.
- Skipping the final Roll Number double check before signing, despite the sheet’s own direct warning about this exact step.
Catching even a couple of these mistakes early during your own mock practice genuinely reduces the risk of an avoidable, sheet-invalidating error.
Final Thoughts
The NDA OMR sheet carries genuine weight in its instructions, from the barcode tear line to the strict Roll Number verification step, and understanding every detail properly makes a real difference to your preparation. I only felt confident about the barcode tear and the scoring pattern after practicing with this exact sheet format multiple times myself. Once you respect every instruction printed on it, from black pen usage to the final signature, this sheet stops feeling intimidating and starts feeling like a genuine part of your exam strategy.
Practice with a proper NDA-style OMR sheet regularly, paying close attention to your Roll Number accuracy and the correct barcode tear procedure. By the time your actual NDA exam day arrives, filling and handling this sheet correctly will feel completely automatic, leaving your full focus on the 120 questions that truly decide your result.